
Figuring Out Kitchen Shelf Depth, Thickness and Length to Maximize the Weight it Holds and the Stuff it Stores
Here is how I figured out the ideal length, depth, and thickness for my kitchen floating shelves. And as a bonus, to help you decide, I’ve included lots of pics of the different size options!
Use These Links to Quickly Find an Answer:
Just a quick heads-up: Everything in this post reflects my genuine opinions and recommendations, but it’s not a substitute for professional advice. To keep this content free, I use ads and include affiliate links, which means I earn a small commission at no extra cost to you.
Ideal Depth of Kitchen Floating Shelves
First, let me ask this, are you really sure you want floating shelves? Check out the honest pros and cons to kitchen floating shelves to help you make the best decision about going this route.
Determining how deep of a shelf you’ll need starts with knowing what you plan to keep on your shelves.
For floating shelves that are solely for decor, you can do pretty narrow. That would be < 12 inches. Here is what that looks like:


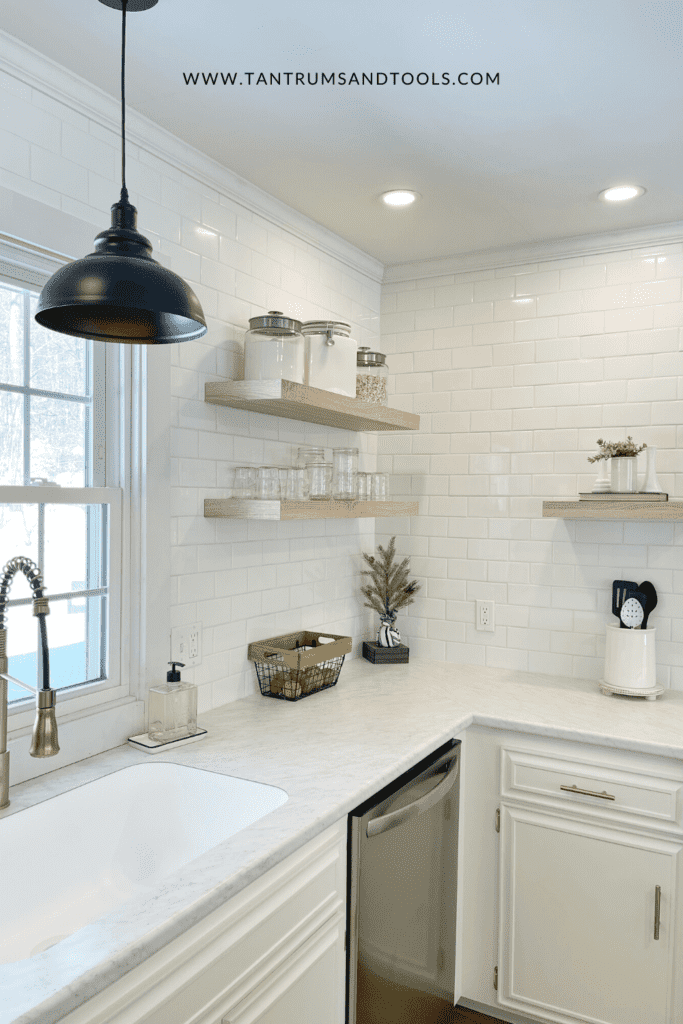
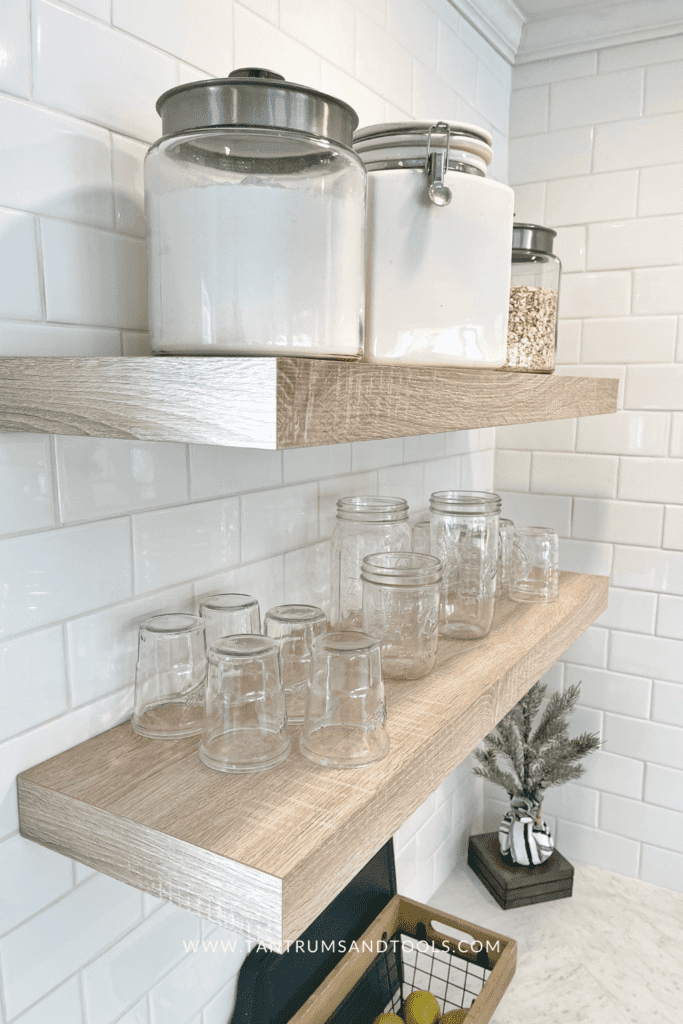
My floating shelves are functional, and I store plates, glasses, and large jars on mine. So, 12 inches, just like the depth of a cabinet, works really well. Here is a couple different angles of what this size looks like:

Although twelve inches is most common, there are plenty of custom sizes. To figure out your ideal depth, first determine the size of your largest item. Then you can make sure your shelves are at least this deep. This is so the item does not overhang off the shelf.
Choosing Floating Shelf Thickness
Common thickness for kitchen floating shelves is between 1.5 to 4 inches, with two inches being the most popular thickness.
Beyond aesthetics, you’ll want to go thicker if you have a really long shelf. This prevents the shelf from sagging in the center.
Here are 1.5 inch-ish floating shelves:

Here are my 2 inch floating shelves (the Big Boy as they are called on the company’s website):
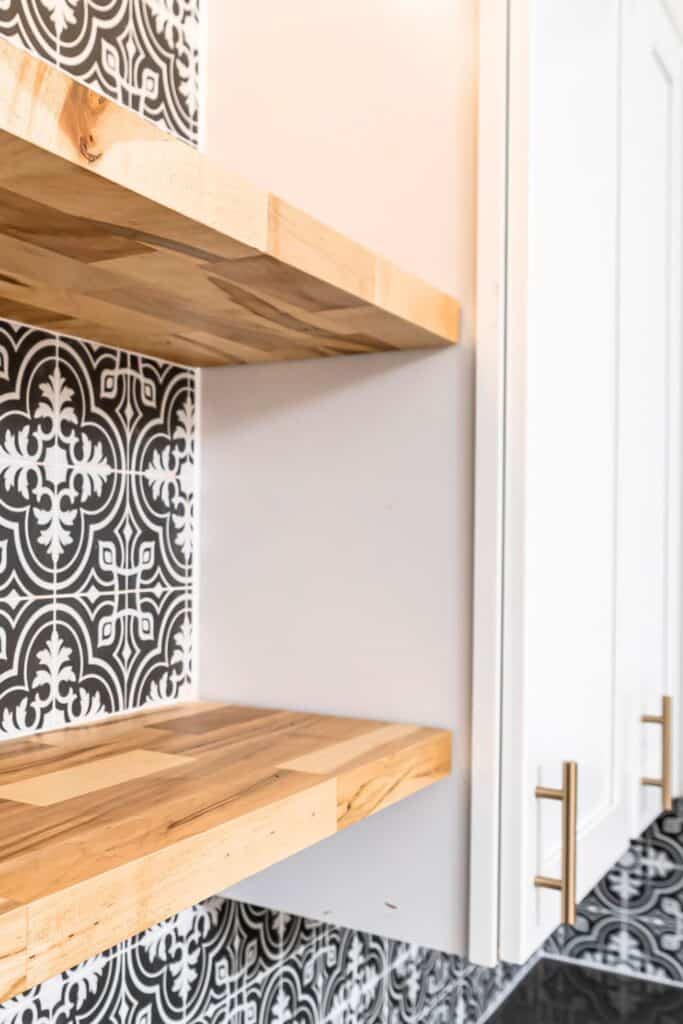
4 inches is considered a thick self. Here is what that looks like:


Ideal Floating Shelf Length
I used painters’ tape and tried different lengths on my wall before making a final decision. The hard part is you have to imagine what it would look like when the entire shelf is sticking out of the wall.
Start at the center of the wall where you plan to hang the shelves, and measuring left and right of this spot. I made sure to leave just a few inches of open space on each side of the shelf. Enough so that it looked intentional.
This worked out to be about 2-4 inches for me. Don’t forget, if you are mid-kitchen reno, you’ll need to account for any window trim. These measurements are from the edge of the trim.
You can see what I’m talking about if you look at the space remaining room to the right and left of the window.

Another option is to have the shelf butt directly up to the wall. This could look like the shelves wrapping around the corner of the kitchen, like this:

Weight Floating Kitchen Shelves Hold
Determining the weight your floating shelves hold is based on these things:
- Shelf material
- Type of bracket
- Number of studs or wall anchors
The mistake I made in my kitchen remodel was tiling my entire backsplash without noting the stud locations. Learn from my mistake and pay careful attention and make note of where they are. This way you can attach your shelves to these. This will increase the weight each shelf can support.
I had many nightmares of my shelves ripping off the wall, but luckily, the shelf I used came with a bracket and heavy duty wall anchors. These allowed me to put plenty of weight on the shelves without having to worry about the studs.
Figuring Out Layout
I suggest using painter’s tape to visualize your floating shelving layout before purchasing and installing. This approach helped easily try different layout variations.
Then, once I landed on a layout that looked good, I spent a few days imagining what it would be like with my shelves in these spots. I also made sure to view the arrangement from all angles.
I highly recommend putting careful thought into the functionality and aesthetics. If your floating shelving is only for decor, then focus on what items you want on there and roughly how tall these will be to make sure you put enough space between your shelves.
If your kitchen floating shelving is also functional, make sure you can easily access the items on your shelf before you make any holes in your wall.
>> Use this super helpful post on how to figure out the best shelf layout and spacing!
Maximizing Storage Space with Floating Shelves Instead of Upper Cabinets
Storage space is always a premium, and when installing floating shelves in a kitchen likely means you’ll reduce hidden storage space.
Although this does not solve any hidden storage problems, one way to maximize space on floating shelves is by stacking everyday dishes and putting dry goods into decorative containers.
In my kitchen I neatly stacked glasses and plates on the lower shelves. I then stored my dry goods like flour, oats, and rice in oversized decorative containers on the higher shelves. To hide any dry goods that didn’t match my neutral color scheme, I used an opaque container.
Another way to maximize storage is to literally increase shelf space. By opting for longer shelves or using vertical space by having three shelves high instead of two.
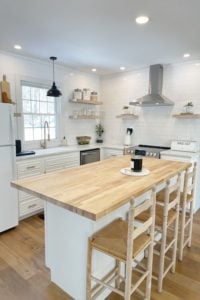
Here is an example of 3 vertical, evenly spaced, floating shelves:

In my kitchen, I had one wall with two shelves and the rest with one shelf. In hindsight, I would install at least two shelves on every wall to better use the vertical space.
>> Find out how to easily install floating shelves by drilling through wall tile in this post!
Shopping Recommendations
There is no shortage of kitchen floating shelf options. But the problem I ran into was finding something:
- Within my budget
- The exact dimensions
- Perfect wood tone to compliment my butcher island butcher block countertop
- Something lightweight
If you’ve been following along, you know I’m frugal. Finding the best product for the least amount of money is my superpower!
It took me many nights of scrolling through pages upon page of search result, but I eventually discovered Shelf & Co. Side note, this is not sponsored by them; I am just so psyched about this find and truly impressed with their product!
I needed five shelves, and in total, these cost me $230.
Read that again; that was not a misprint or the price for one shelf.
That’s $230 for five shelves. I felt like I hit the jackpot because these checked all the boxes; affordable, lightweight, perfect color (mine are vintage oak) and exact dimensions I needed.
For real wood floating shelving, I suggest checking out JThomasHomeGoods on Etsy. If I had planned better, and knew the location of my backsplash studs, I would have felt more comfortable going with a real, solid wood floating shelf.


Stop piecing together information from different sources and get everything you need in one place.
Save time, avoid costly mistakes, and achieve the transformation you’ve been dreaming of.
Grab your copy of the Ultimate Furniture Makeover Guide.


